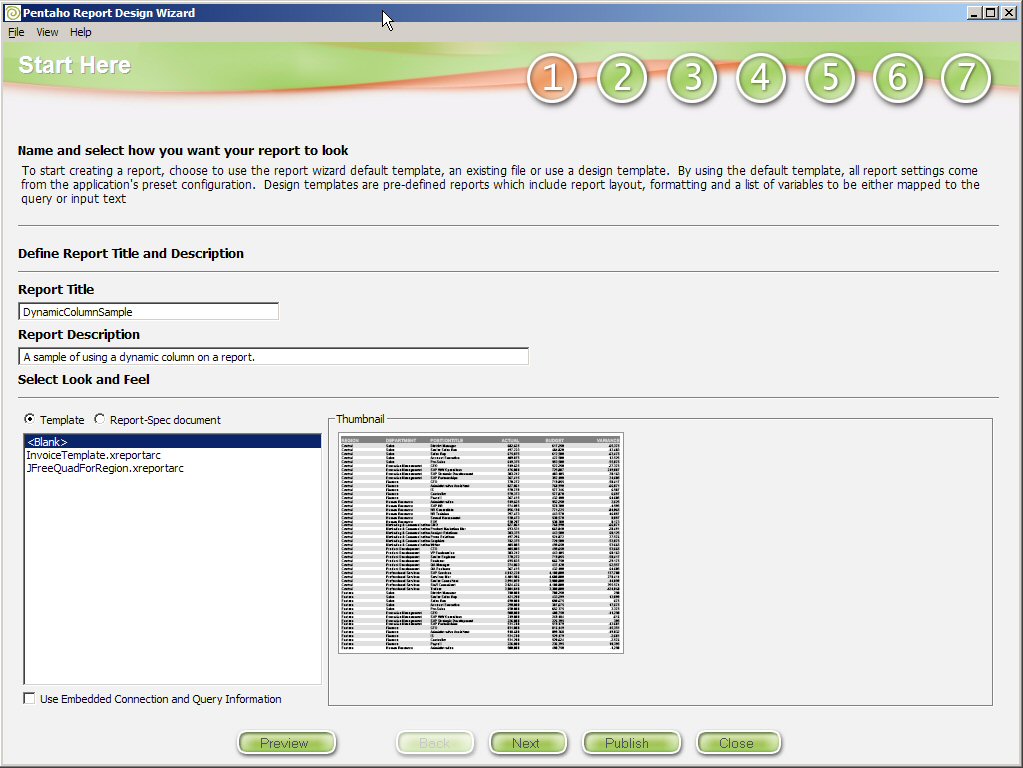
...
Otherwise, the report defaults were used to generate this simple report.
STEP 1: Report Title and Description
STEP 2: Select a Datasource and Query
...
We'll use the Pentaho Design Studio to fill out our action sequence. If you are not familiar with the Pentaho Design Studio or action sequences, take time now to review the Pentaho Design Studio User's Guide and Creating Pentaho Solutions Guide. Both can be found on our downloads site.
- Start the Pentaho Design Studio.
- The easiest way to work on your new action sequence is to have the pentaho-solutions directory (under the Pre-configured Installation root) set up as a Simple Eclipse Project. From the File menu, choose New... | Project.
- In the dialog, choose the Simple option in the list, then Project. Click the Next button.
- Name your project TechTipSolution, uncheck the "use Default" option, and Browse to the <Pre-configured Installation>/pentaho-solutions directory on your local machine. Click the Next button.
- Click Finish. You should have a new Eclipse project named TechTipSolution in your Navigator view.
- Navigate to <Pre-configured Installation root>/pentaho-solutions/samples/reporting directory, and open the .xaction file with the name of your report prefixed. In our example, the file name is DynamicColumnSample.xaction, since DynamicColumnSample is what we named our report in the Report Design Wizard.
...
